In today’s market, where user experience has become the obsession of marketing, product photography continues to play a leading role in promotion. A good image doesn’t just display an object: it conveys quality, builds trust, and sparks interest.
Brands now compete not only on features or price, but also on aesthetics. The way you present your product can be the deciding factor in whether a customer chooses it—or scrolls past it. And that’s where the magic of thoughtful photography comes in: an image capable of telling a story and creating an emotional connection with the viewer.
Preparation Before the Photoshoot
Before switching on the camera, there’s a quiet but crucial process that defines the final result of a product photo. Preparation means taking care of every detail: from cleaning the product to selecting the background and planning the session.
A spotless, flawless product is essential. Any smudge, fingerprint, or speck of dust that goes unnoticed to the eye can become an unwelcome star in the final image. A soft cloth, gloves, and patience are your best allies.
The background is another decisive element. A neutral one ensures the product takes center stage, while a textured or colored backdrop can add character—as long as it doesn’t compete visually with the star of the show. Think about the message you want to convey: minimalism, warmth, elegance, or freshness. Each backdrop tells a different story.
Planning also saves time and avoids frustration. Define the angles you want, how many shots you need, and what props or accessories you’ll use. A shot list or small storyboard can help you visualize the outcome before you even begin.

Lighting: The Key to a Professional Image
Light is perhaps the single most important factor in product photography. It doesn’t just illuminate—it defines shapes, textures, and moods.
Natural light is valued for its softness and its ability to render true-to-life colors. It’s perfect for conveying freshness and authenticity, though it comes with a challenge: it’s ever-changing. Taking advantage of soft light hours (morning or late afternoon) and using diffusers will help you manage it more effectively.
Artificial light, on the other hand, offers full control. You can decide the intensity, direction, and color temperature for consistent results. In studio settings, LED lights, flashes, and modifiers like softboxes or umbrellas are common tools. This is ideal when you want a polished, editorial look—or need repeatability across multiple sessions.
Whichever source you choose, avoid harsh shadows that flatten or distort the product. Diffusing light and bouncing it from different angles helps highlight details without losing a natural feel.
Composition and Framing: Highlight the Best of the Product
Good composition guides the eye and emphasizes what truly matters. Arranging elements within the frame isn’t random—it’s the result of conscious choices that determine visual impact.
The rule of thirds is a classic method for positioning the product at key points of attention. Negative space (the empty areas around the subject) provides breathing room and lets the eye rest. Lines and shapes that lead the gaze toward the product are another powerful tool.
When it comes to angles, every product has its strengths. A flat lay (shot from above) works well for organized, layered setups. A 45° angle offers a balanced view of height and front—perfect for packaging, bottles, or three-dimensional items. Eye-level shots, aligned with the product, emphasize volume and depth.

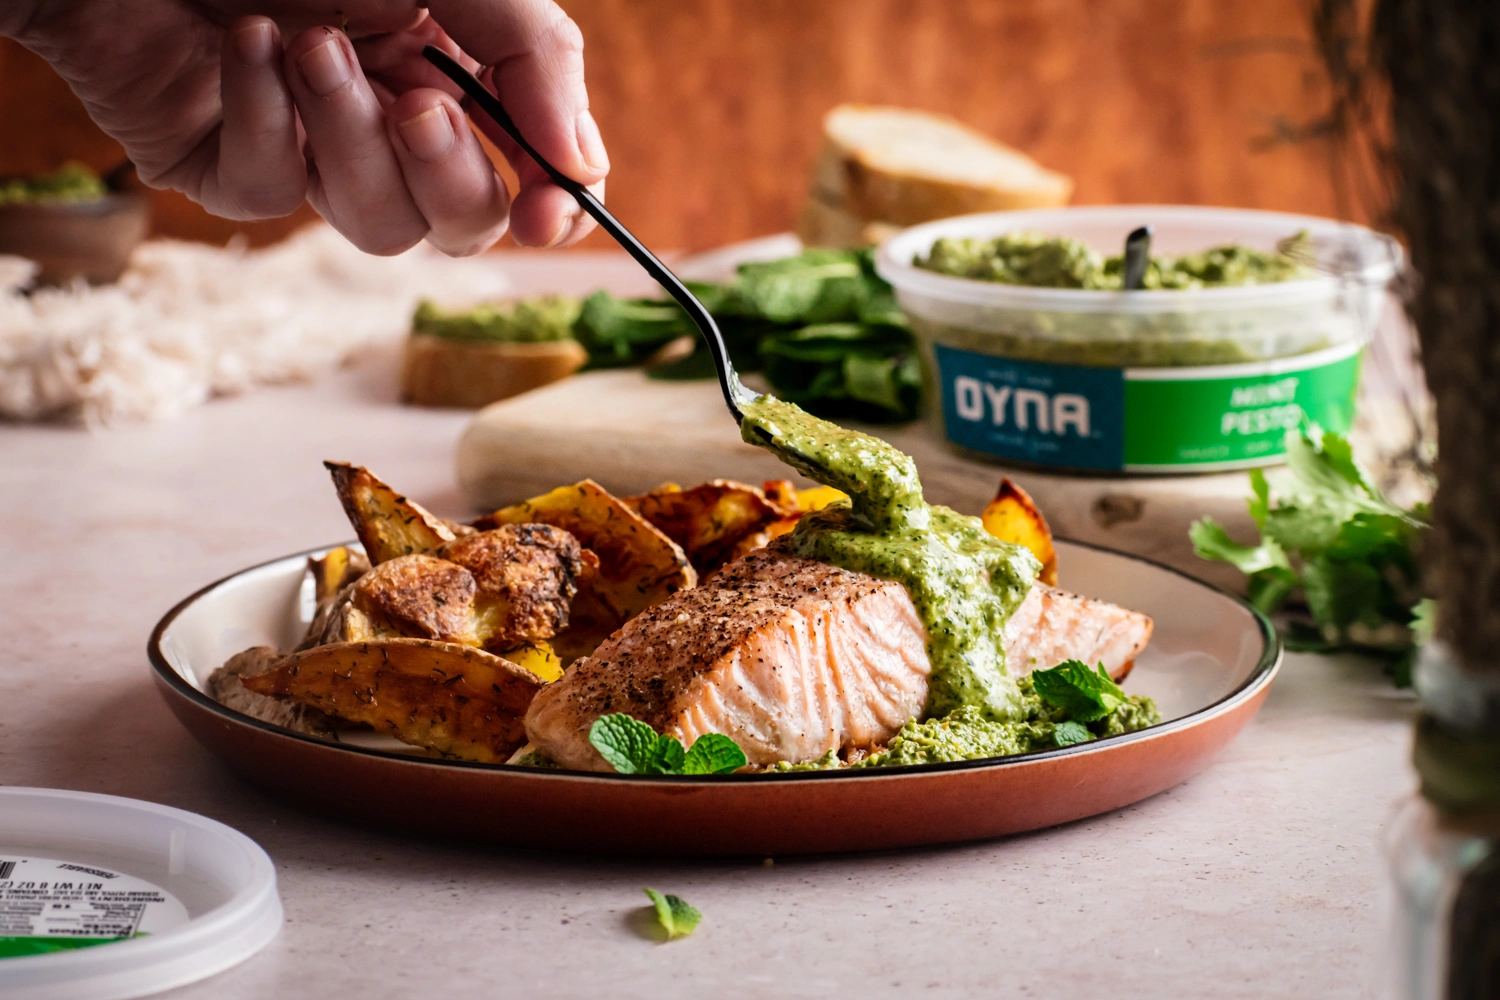
Props and Styling: Enhancing the Presentation
Styling in product photography goes beyond simply “making things look nice.” It’s about creating a visual context that complements the product and reinforces its message.
Props should be chosen with intention. A coffee mug beside a pack of cookies can evoke comfort; a tool placed next to a tech device can suggest precision and functionality.
Textures add visual sensation: wood conveys warmth, metal modernity, linen naturalness. Colors, meanwhile, can work in harmony or contrast depending on the mood you want to create. The golden rule of product styling: everything should add, nothing should distract.
Editing and Retouching: The Final Touch for a Perfect Image
The photoshoot doesn’t end when the camera is put down. Editing is the final step to refine the image and bring it to its best version—without going overboard to the point of looking unrealistic.
Adjust white balance so colors stay true to the original. Fine-tune brightness and contrast to give the photo life, and correct small imperfections that slipped through during shooting.
Editing is also the moment to ensure consistency across multiple photos: using the same style, temperature, and saturation creates visual harmony. This is especially important if the images are part of a catalog or website.
Conclusion
Product photography isn’t just about technique—it’s about observation, planning, and creativity. Every choice—from background and light to composition and retouching—shapes how the product is perceived and, ultimately, how your brand is perceived.
Investing time and care into each step translates into images that don’t just show, but communicate. And in a world where a single photo can be the gateway to a sale, that difference truly matters.